Thursday, September 27, 2012

Baking paper trial

I'd been planning to make jam slice (p63) for some time. I kept getting put off by not having time, or the right ingredients, or more recently, no baking paper to line the tin with. I knew a jam slice would be sticky and absolute hell to get out of the tin, so there was no way I was making it without a sheet of baking paper underneath.


In the end, I made a particular trip to the local Countdown to get the baking paper I'd forgotten on several general supermarket excursions. When I got there, they didn't have my usual 'Mono' brand of baking paper, only sandwich paper. There weren't many other options, either: the Homebrand one seemed to be the only one described as baking paper - so I got that.


The base of the jam slice is sweet shortcrust pastry, so the first thing I did was to make some of that (to the Edmonds recipe, of course). I don't find shortcrust that difficult to make, but you could definitely substitute the bought kind.


When the pastry had chilled for a bit, I measured off the 200g required for my recipe, and went to roll it out to a suitable size for a sponge roll tin. It was very thin by the time I'd rolled it out enough, and fell to pieces as I tried to transfer it into the tin. There was a bit of patchwork involved in making the pasty cover the base right to the edge of the tin, and the base was dubiously thin throughout.


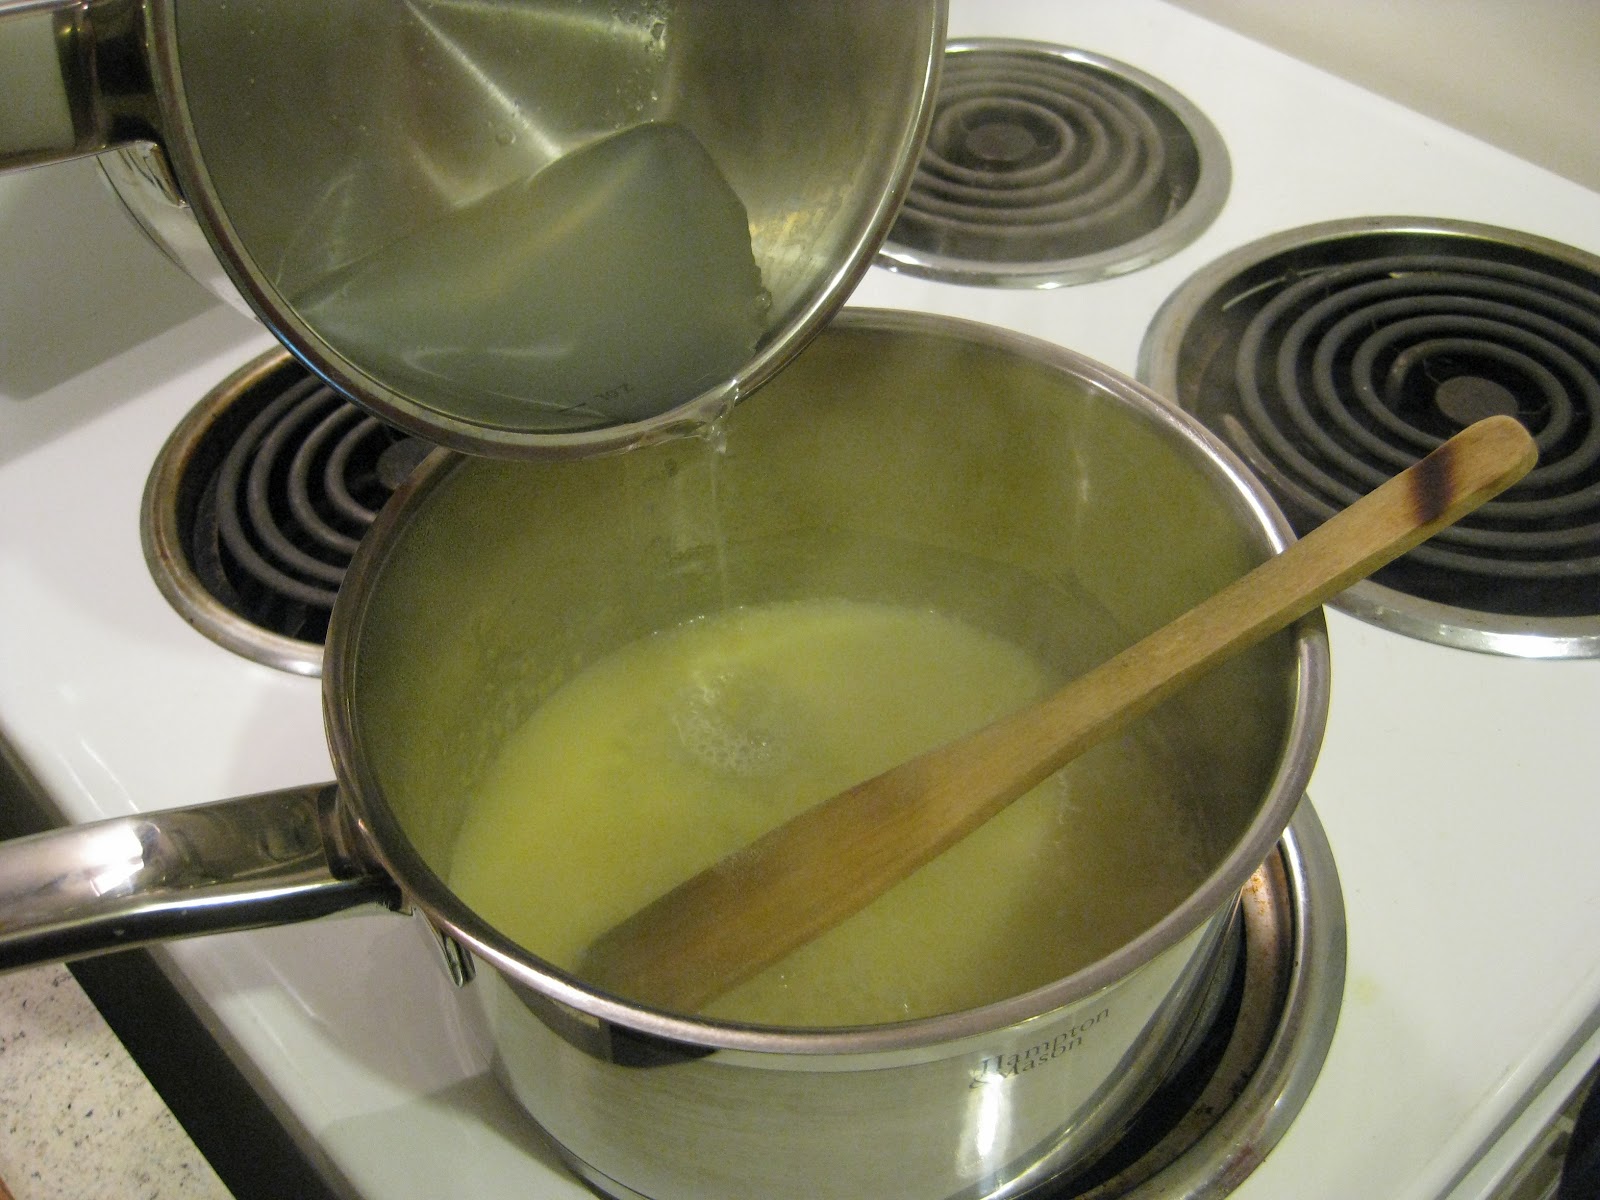
Next I spread on a generous amount of my home-made raspberry jam, then spread on a topping made by beating egg whites and sugar, then folding through coconut.


The baking time was 30 minutes, but I was nervous that the thin base might burn. After 20 minutes, the slice was a lovely golden brown, and tentative poking around the edges with a knife seemed to indicate that the base was cooked through too. I decided not to cook it any further.


After leaving the slice for a short while to cool, I used the edges of my baking paper to lift the slice out of the tin. It came away quite easily, but I was less successful when I attempted to separate the baking paper from the slice itself. The jam had oozed around the paper and it was cooked right into the edges of the slice. It had also stuck firmly into the pastry base, behaving more like newsprint than baking paper. Considerable mutilation of the slice was required in order to remove all the paper. I really can't say that a different brand of paper would not have stuck in the jam, but I do think it would have performed better under the base. Won't be buying that one again.


Once I'd got rid of the paper, the slice was pretty tasty. The coconut topping is far thicker than either of the other layers, so coconut is actually the dominant flavour, with a nice fruity jam background. The base was definitely too thin - not that I like a big thick base on a slice, but this one doesn't even hold together. A bit more than 200g pastry required, I reckon.


All in all, a nice easy slice - except for getting it off the paper. For all that I'm not impressed with that Homebrand stuff, I reckon the sticky edges of this slice would be a challenge for any brand of baking paper!

Tuesday, September 25, 2012

One step beyond "serve with meatballs"

Tonight I had a crack at the final "Quick and Easy with Rice" recipe - these being the handful of recipes using packets of Rice Risotto as a main ingredient. On the whole, I dislike recipes that are designed to sell me things, but the other Rice Risotto meals have been quite tasty, so I had high hopes for this one as a worthwhile 'shortcut' meal.


At first glance, beef meatballs (p108) seems like it's just a recipe for meatballs that you cook up and serve with Rice Risotto: more of a Rice Risotto serving suggestion than an actual recipe. When you look a little closer, you find that the meatballs are actually cooked in the risotto, so I guess you can actually claim the risotto is an ingredient in a single recipe, rather than just an accompaniment to the main dish.


The instructions for making the meatballs are to combine soft breadcrumbs, chopped onion, mince, herbs and tomato sauce. I eliminated the chopping and mixing by merely bunging a couple of slices of bread in the food processor with a quartered onion, then, once those were sufficiently chopped, adding the other ingredients and combining the mixture with a brief blitz. Easy.


It took a little while to roll the mixture into meatballs - they are supposed to be walnut-sized , so it made quite a few (even if I was modelling mine on suspiciously large walnuts). Once the meatballs were shaped, I browned them in a frying pan, then set them aside on the plate and tipped the contents of the rice sachet into the pan.


Following the instructions on the risotto box, I stirred the rice in the leftover oil and meatball juices for a couple of minutes before tipping in hot water and the contents of the beef flavour sachet. When the water began to boil, (which was almost immediately) I tipped the meatballs back in, put a lid on the pan and left it to simmer.


After 15 minutes, I took the lid off and let the rice cook for another 5. By this time, the rice had swollen up to surround the meatballs and all the liquid had been absorbed. It looked quite yummy, so I served myself up a bowlful and had a taste.


The rice had plenty of flavour (that'll be the good ol' flavour sachet) but the meatballs were a bit bland. My first thought was that I'd accidentally skipped the part about seasoning again, but when I checked, there's no mention of seasoning in the recipe. That said, the meatballs were moist, juicy, and nicely cooked through - even the onion.


This is a fairly easy one-pan meal. I suppose there aren't any veges in it, but if you chucked a bit of vege in there it'd cook ok. Rolling the meatballs is the only fiddly bit and it doesn't really take too long. As long as you add a bit of seasoning (and/or whatever other spices and herbs you like) to bring those meatballs back from the edge of blandness, you can get a simple, tasty meal on the table in about half an hour.

Thursday, September 20, 2012

Procrastination

It was actually Sunday that I made a gingerbread loaf (p29), but I've been putting off writing about it because I just couldn't think what to write. It's amazing how many things you can find to keep you busy when you're putting off the one thing you should be doing.


I chose this recipe because I needed to complete more of the 'scones, muffins and loaves' recipes, and this was one that looked immediately appealing. I am a fan of all things gingerbread, after all.


You start by sifting flour and salt with a whole tablespoon each of ground ginger and cinnamon. For spices, a tablespoon is quite a lot, so I was expecting plenty of flavour in my finished loaf. To this mixture I added a cup of quick-cook porridge oats. The recipe says Creamoata, but as previously established, you can't get that anymore.


In a separate bowl, I beat eggs an sugar, then stirred through of melted butter and golden syrup before I folding in the dry ingredients. The final addition was quite interesting: baking soda dissolved in yoghurt. I almost missed this step, which would have been disastrous, since there's no other raising agent in the loaf. When you add baking soda to yoghurt, it fluffs up to a light, airy texture, a bit like beaten eggs. I found that fascinating.


I stirred through the fluffy yoghurt, along with some sultanas (yes, sultanas in a gingerbread loaf. I thought that was weird too). and spooned the mixture in to loaf tin, carefully greased but not lined as I'd just remembered I'd run out of baking paper.


The given baking time is 55 minutes. As per my usual habit, I set my timer for a bit less than that. When it went off after 50 minutes, I took out a loaf that was already looking very dark on top, and showed every sign of being cooked through. I left it in the tin for another ten minutes before taking it out to cool.


To be honest, this gingerbread loaf was a bit of a disappointment. Despite the reduced cooking time, the loaf was overcooked - crunchy around the edges and starting to dry out in the middle. The oats had not mixed through very well, and there were lighter oaty patches here and there throughout the loaf. There was flavour enough, as I'd anticipated with the heavy spicing, but actually, that doubtful inclusion of sultanas was the best thing about this loaf - a few juicy sultanas sprinkled through your slice of loaf help make up for the overall dryness.


To summarise: this loaf has a good flavour but is easily overcooked. I'd suggest 40-45 minutes' cooking time is more suitable than 55 - not letting it dry out would make all the difference.


Sunday, September 16, 2012

Safe-option sponge

It was probably a bit remiss of me to return to work, after a whole week off, not bearing any baked goods for morning tea. I had in fact intended to make something last Sunday night, but never got around to it, so I decided to bring something at the end of the week instead.


While I would happily go the rest of my life without attempting another sponge, there are still several sponge recipes to be completed. It was about time to do another one, but I admit I played it safe, choosing orange sponge (p69), the final variation of that three-minute sponge recipe I'm reasonably confident with.


It's the same deal as the others - bung flour, sugar, melted butter, milk and eggs in the mixer, and beat for three minutes. The only difference is this time you add some grated orange rind. After the three minutes' beating, you stir in baking powder and bake in sponge sandwich tins.


It's pretty straightforward for a sponge cake. Of course, I still managed to misread the recipe, and only realised after I'd beaten the mixture that I hadn't put the milk in. I added it with the baking powder instead, and hoped for the best.


The only thing making this an orange sponge was a bit of orange zest in the cake. If I'm going to make an orange sponge, I want to make it as orangey as possible, so I decided to try something I'd been toying with for a while, and attempted to make 'orange honey' using the Edmonds lemon honey recipe, for something to spread between the layers of sponge.


It didn't work all that well. Whether this was because I didn't pay much attention to the proportions of the ingredients, or because it just doesn't work with oranges, I don't know. It had a lovely orange flacour, but didn't really set like it should.


This sponge cake didn't rise quite as high as my previous attempts at the three-minute recipe. I think this is probably due to my folding through the milk after the beating. So it was a bit flat, but otherwise it looked ok.


Before work on Friday, I spread one half of the sponge with the runny orange honey, and spooned on whipped cream which had more of the orange honey stirred through it. Topped with the second sponge and dusted with icing sugar, it didn't look too bad.


It tasted pretty good too. The sponge may have looked flat, but it was still soft and light. The orange flavour was pleasant, but (surprisingly, considering how much of that orange honey I'd used) still quite subtle.


Having now tried all three variations, I still recommend the three-minute sponge, particularly if you haven't made a sponge before - or, like me, you've tried but been repeatedly unsuccessful. It's uncomplicated, and (assuming you remember to put the milk in at the right stage) reliably produces an edible sponge.


Wednesday, September 12, 2012

Can't make this without breaking a few eggs

I must have been in highly-motivated Edmonds mode last night, because after I'd finished eating my soup I decided to go back in the kitchen and make some pudding. I no particular reason, I chose baked custard (p207).


The concept of this recipe has always confused me a bit. I tend to think of custard as something in the nature of a condiment: a thick but pourable substance that goes with pudding or fruit - not a dish in itself.


It's easy to make - you heat some milk, whisk in eggs, sugar and vanilla, then pour into a pie dish. The pie dish is then placed in a waterbath and baked for an hour at 150 degrees.


I put the milk on to heat and then got distracted trying to find something to use as a waterbath - my usual pie dish wouldn't fit inside my roasting dish. After considering various options, I swapped my pie dish for a 20cm sponge sandwich tin.


When I went to add the eggs to my warmed milk, I found I'd fallen prey to the same old error of not checking I had all the ingredients before making a start on the dish. I needed three eggs; I had only one. I had to take that milk off the heat and put my custard-making ambitions on hold overnight.


This evening I returned to the kitchen with eggs. This time all went well and I got the custard into the waterbath and in the oven without any trouble. I did realise after a few minutes that Id' forgotten to scatter nutmeg over the top, and grabbed the custard briefly out again to do this.


When the timer went off, I grabbed the dish out of the oven too hastily, accidentally sloshing water into the custard. I tipped off the worst of it, and blotted the rest with a paper towel. The custard seemed cooked; a bit rubbery even. I scooped some into a bowl and had a taste.


Well, it tastes like eggs. On the whole I prefer custard made with eggs over custard made without, but this one was so eggy it didn't even taste like dessert. The texture was not wonderful either - the skin on the surface was thick and chewy, and even underneath it the custard was still slightly rubbery.


My taking the custard out part way through cooking may have adversely affected the texture, or sloshing that water over it at the end. It's possible, but really I think the custard would have come out much the same no matter what. Overall, not a fan of this one.


Tuesday, September 11, 2012

The last gasp of Winter

The predicted cold snap hit Christchurch around four this afternoon, marked by an icy wind and a sudden furious hailstorm. I walked home through a neighbourhood that looked a bit like someone had burst a giant beanbag all over it. I detoured to the supermarket on the way home for some soup ingredients.


There are only a few soups left - I'd assumed I'd get these done at some stage during the cold months, but somehow Winter came and went without me completing a single one of them. When facing tonight's icy blast,  mussel soup (p88) with melba toast (p93) seemed like the ideal warming dinner.


I started out by rather inexpertly cleaning and debearding the mussels. I got most of the beards off, but some of those mussels were clinging on tight to their beards and closed over the remnants after I pulled off what I could.


The first step in the soup was to cover some fish fillets with water and boil for 15 minutes. For my half-recipe, the fish cooked much more quickly and was falling apart after about 6 minutes. I removed the fish and reserved the cooking water for the soup.


The method for the soup is one I haven't come across before. It begins with with stirring curry powder and flour into melted butter in much the same way as a white sauce or cream soup. The liquid that is then gradually added is made up of the cooking water from the fish, the juice from some canned tomatoes, and a slosh of white wine.


I had finished adding the liquid before I remembered about the melba toast. It's pretty much just thin slices of bread - crusts removed and cut into triangles - grilled on both sides, then split through the middle and grilled again. The recipe is for a full loaf of bread, hand-cut into 5mm slices, but I just used a couple of slices of sandwich bread. I'd grilled the first side before I remembered to cut off the crusts, so I did this before bunging them in to grill the second side.


While the melba toast was in the oven, I added the drained tomatoes, a small amount of dried basil, and some tomato paste, then brought the soup back to the boil and chucked in the mussels.


It took a few minutes for the mussels to cook and open up. Meanwhile, I'd taken my tray of melba toast out of the oven and was trying without much success to split them as described in the recipe. By the time I'd finished, the melba toast was a pile of ragged bready shards on the tray. With a shrug, I arranged them ungrilled-side up and bunged them back in the oven while I made the finishing touches to my soup.


The mussels had opened up while I was faffing about with the melba toast. I finished the soup by stirring through the fish I'd cooked earlier, and seasoning with salt and pepper. I was busy ladelling soup into a bowl when I caught a whiff of burnt toast. D'oh. I hastily grabbed my tray of charcoal shards out of the oven, switching on the rangehood with the other hand in the hope that it would suck up any smoke before it set the alarms off.


So the melba toast was a writeoff.  Looking at the recipe, it's clearly something you can prepare in advance and store in an airtight container - a much better plan than attempting to keep an eye on it in your spare moments while you're actually concentrating on something else.


The soup was quite good - definitely an ideal dish for a chilly night. The thing is, even though it's a mussel soup, the mussels were actually a bit distracting. I found myself eating them just to get those clunky shells out of the way of the soup I was actually trying to eat. In truth, I'm not a huge mussel fan, so I guess it's no surprise that I'd actually prefer this soup with twice the fish and no mussels at all.

Saturday, September 8, 2012

Make time for marmalade

I've been on holiday this past week. I don't mean I've been off gallivanting around somewhere exciting, merely that I haven't been at work, which is all the excitement I needed. You might think that in this case I should have had plenty of time for Edmonds recipes, but in fact I've spent most of the week outside, turning a pile of scruffy bricks into edging for my equally scruffy garden.


I couldn't neglect my Edmonds Challenge for the whole week, however, so yesterday I found time to make some marmalade (p227).


This actually took a bit of forward planning, since I had to prepare the fruit the previous evening. I didn't particularly want jars and jars of marmalade hanging around in the cupboard, so I chose to reduce the quantity: instead of using four large grapefruit and two large lemons, I used two smallish grapefruit and one medium-sized lemon.


The fruit is to be chopped, minced or sliced, then covered with water and left to stand overnight. The recipe doesn't indicate that the fruit is to be left unpeeled when mincing/chopping/slicing, but since most marmalades have peel in them I assumed I was supposed to just leave it on.


I chopped the fruit into manageable chunks, removed the pips, and blitzed the chunks up in the food processor. The resulting mixture I tipped into a bowl, added water in what I calculated to be about the right amount, based on the reduced quantity of fruit, then left it to stand overnight.


That bit was so easy I sort of assumed the rest of my marmalade-making would be similarly simple. I breezed into the kitchen on Friday morning, hoping to have my marmalade made within the hour, after which I could get back out in the garden.


The fruit and water mixture, after standing overnight, is to be boiled for 45 minutes "or until fruit is soft and pulpy". Well, I figured it probably wouldn't take the full 45 minutes since I was making a smaller quantity, so I kept an eye on it while I busied myself with washing dishes and sterilising jars.


The 45-minute mark came and went, but I still wasn't happy with my pulp. Certainly the fruit was cooked, but it all just seemed too watery. I'd been boiling with the lid on the pot, so I took this off and boiled for a further 15 minutes or so, allowing more steam to escape.


This seemed to do the trick - the mixture was much less sloppy-looking than before, as I tipped it into a jug to measure how much pulp was there: a total of four cups, so I returned it to the pot with an equal amount of sugar, and brought it to the boil.


Then followed the tiresome business of testing for setting point, though actually the marmalade took only ten minutes or so of boiling to reach a point where I was confident it would set. I removed my pot from the heat, ladelled hot marmalade into my prepared jars, and topped each with a jam seal.


The marmalade set beautifully, but I'm not really pleased with the flavour. I'm not a huge marmalade fan at the best of times, but this one seems particularly bitter. I suspect it's because the grapefruit I used had very thick skins, thus adding extra pith into the mix. So if you're planning to make marmalade, try to choose less pithy fruit, and you should expect it to take up to an hour and a half - no matter what quantities you're using!

Wednesday, September 5, 2012

Egg on egg: genius or idiocy?

One of my long-standing conundrums has been the question of egg sauce (p188). What on earth do you serve egg sauce with? It doesn't seem to go with meat, chicken, fish, veges or pasta. I'd taken to asking people for ideas, but no-one seemed to know.


The other day the question came up when I was chatting to a friend on Facebook. After being suitably chastised for his first idea (apple), he tossed off another flippant suggestion: egg.


I narrowed my eyes at this frivolous proposal. Then my eyes widened: could it work? Egg on egg - the double whammy, as it were. Well, it was more of an idea than any I'd come up with, and whether it worked or not, trying it would still tick egg sauce off my list.


Tonight I finally got around to testing the egg-on-egg concept. Egg sauce is another of those dreaded variations on the plain white sauce recipe, so it's pretty straightforward: you melt butter, then stir in flour and cook for a minute or so. After that, you just gradually add milk, (whisking like crazy to keep it from going lumpy) season, and - in this case - stir in some chopped whites of hard-boiled egg.


Sounds easy, doesn't it? It is, really, but I found I had my hands full, what with madly stirring the sauce, peeling and chopping the eggs, and preparing the remainder of the meal. Initially I'd thought to have my sauce with plain hard-boiled egg, but since that wouldn't contrast much with the sauce, I decided to fry an egg instead, and serve it atop toast and bacon - along with the egg sauce, of course!


Having layered my toast with bacon and fried egg, I spooned over the egg sauce, and sieved the egg yolks over the top for a garnish. Last time I tried this, the eggs weren't properly boiled, and attempting to sieve the yolks just made for yolky mush all over my sieve. This time it worked perfectly, topping my eggy creation with a thick scattering of granulated yolk.


The question is, did it taste good? Actually, yes. It's a lot of egg to eat in one sitting, but it was tasty. On the other hand, is it in any way necessary to add egg sauce to your bacon and eggs? Nope. Just the egg sauce on top of the bacon would have worked well enough. I should have thought of that.

Popular posts this week